In this procedure, you will be guided through creating an Office 365 Trial. Use the checklist in Installation of the CCH iFirm Connector to record details from below.
Step |
Instructions |
Screenshot |
|---|---|---|
1 |
Accept your trial invitation by clicking the URL below:
•For Australia: https://portal.office.com/partner/partnersignup.aspx?type=Trial&id=b94c64ed-2b74-47be-9f6a-512084967d7a&msppid=2662571
•For New Zealand:
If the link does not work, try again using an incognito browser window.
Although entries are shown for New Zealand and Australia, should you need another country, please email support@hubone.com. |
|
2 |
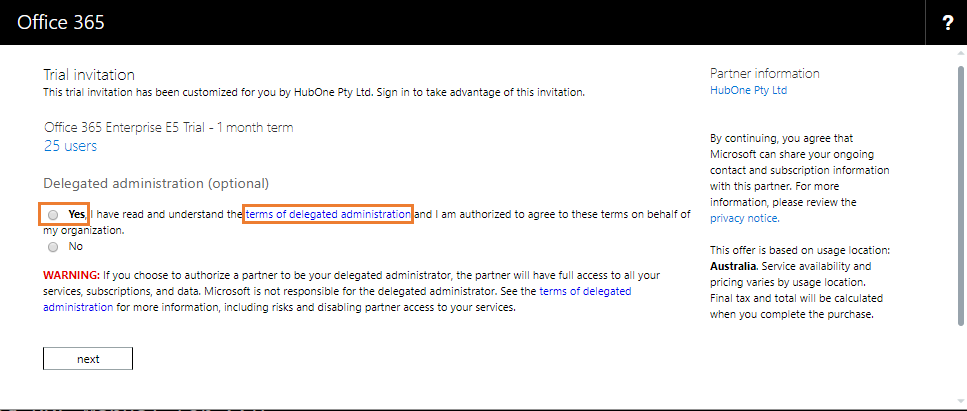
Read the terms of delegated administration.
Click Yes to accept, then click the Next button.
This is done to allow us to help you during the trial. The system will still work if you click no, but we will find it harder to help you quickly. |
 |
3 |
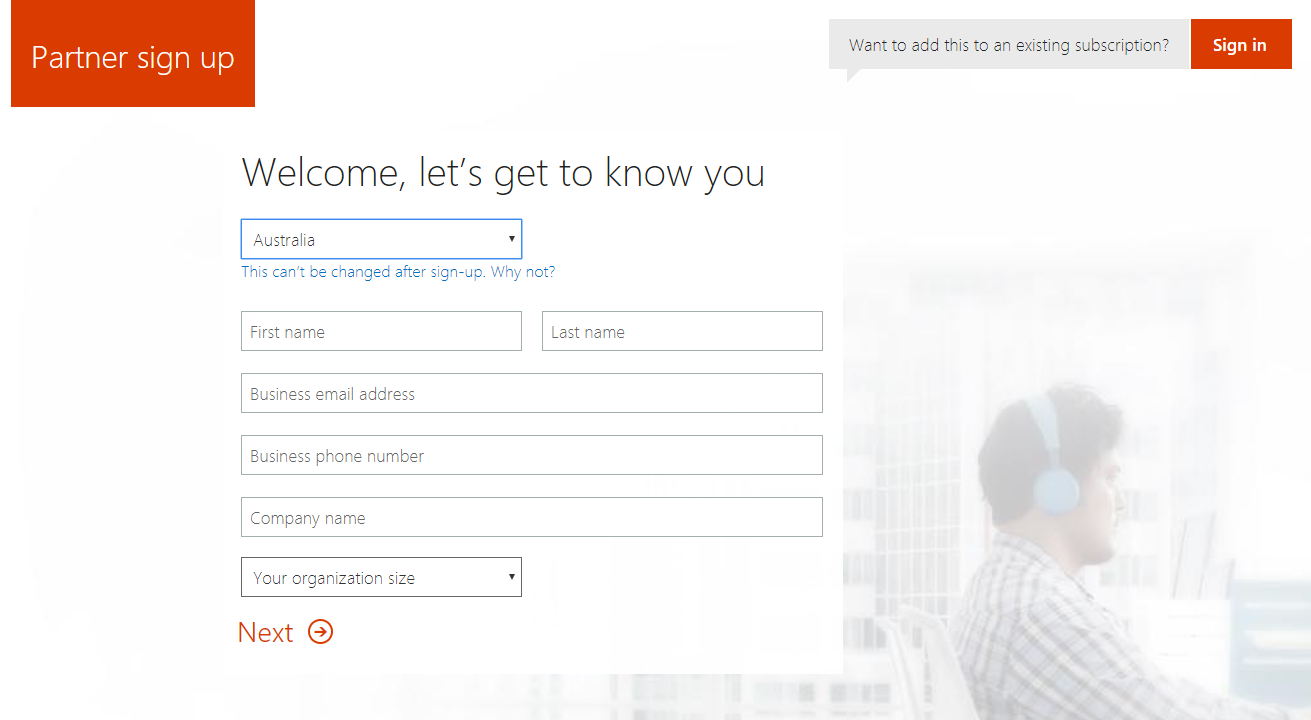
Enter your information:
•Country – as required •First Name – Your first name •Last Name – Your last name •Business Email Address – Your email address •Business Phone Number as per your Phone Number •Company Name - your company name •Your Organization Size - The size of your organization
When done, click Next.
|
 |
4 |
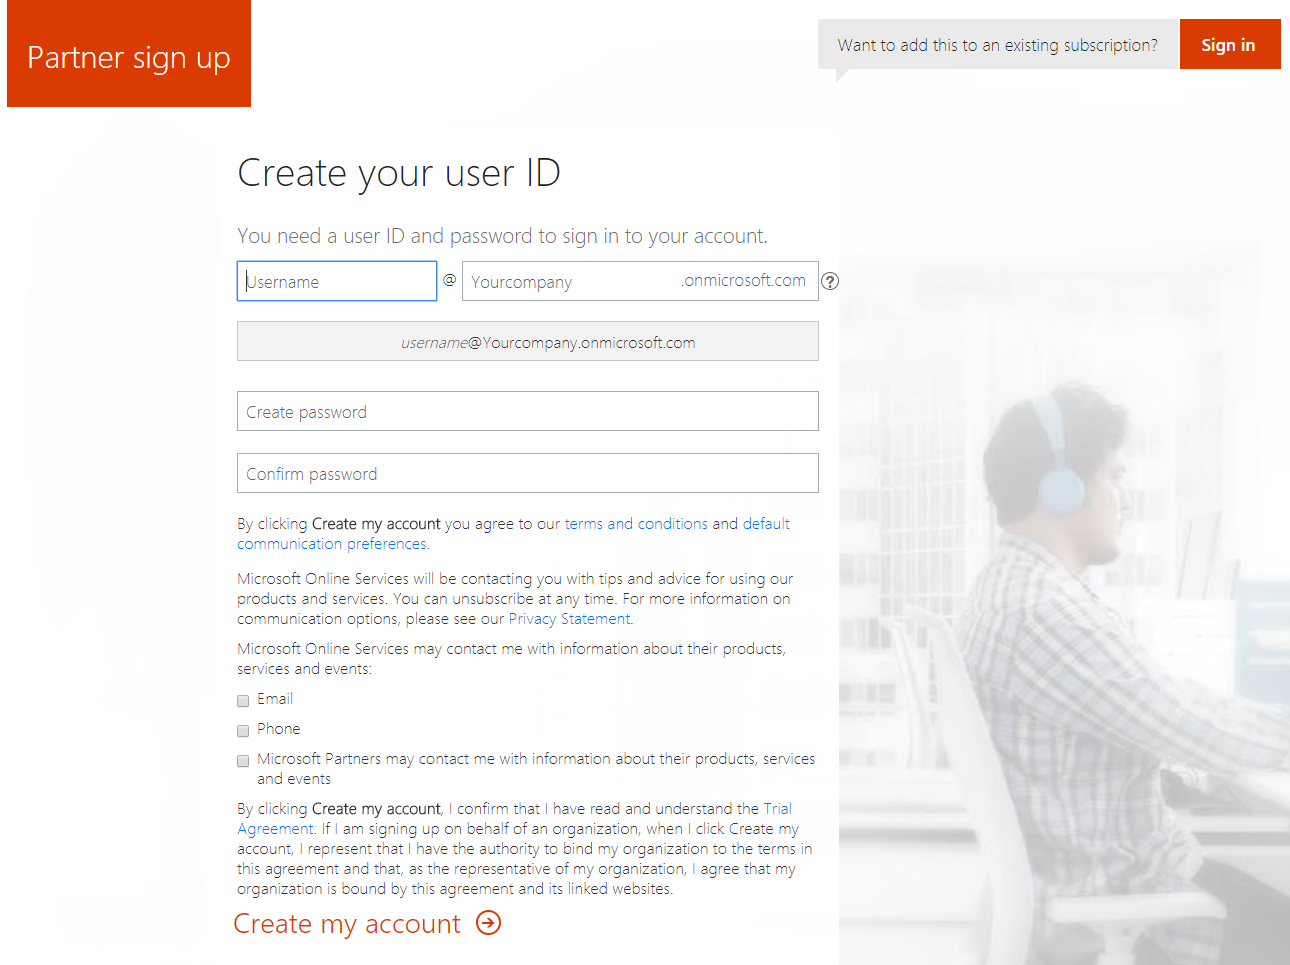
Enter a user ID.
E.g. admin@<designator>.onmicrosoft.com
Then create a password.
Finally, click Create my account.
|
 |
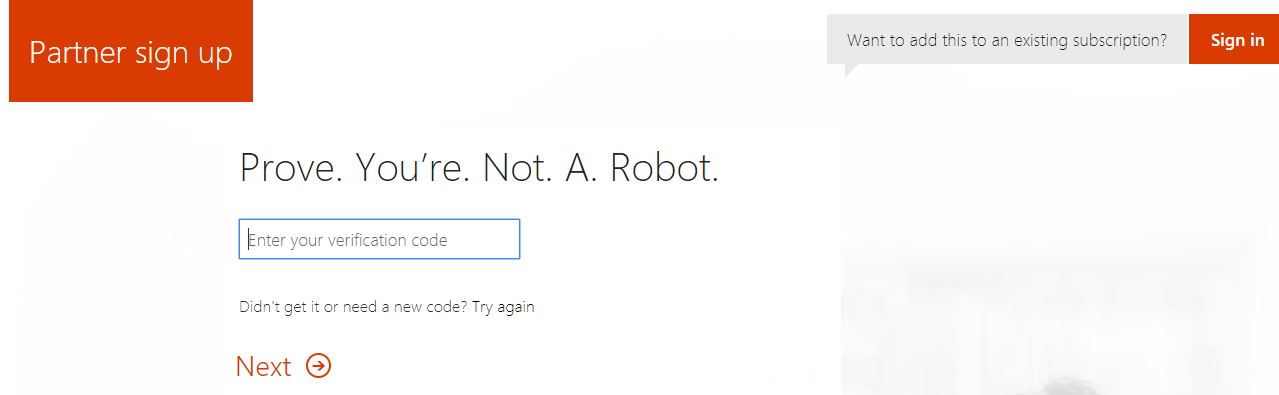
5 |
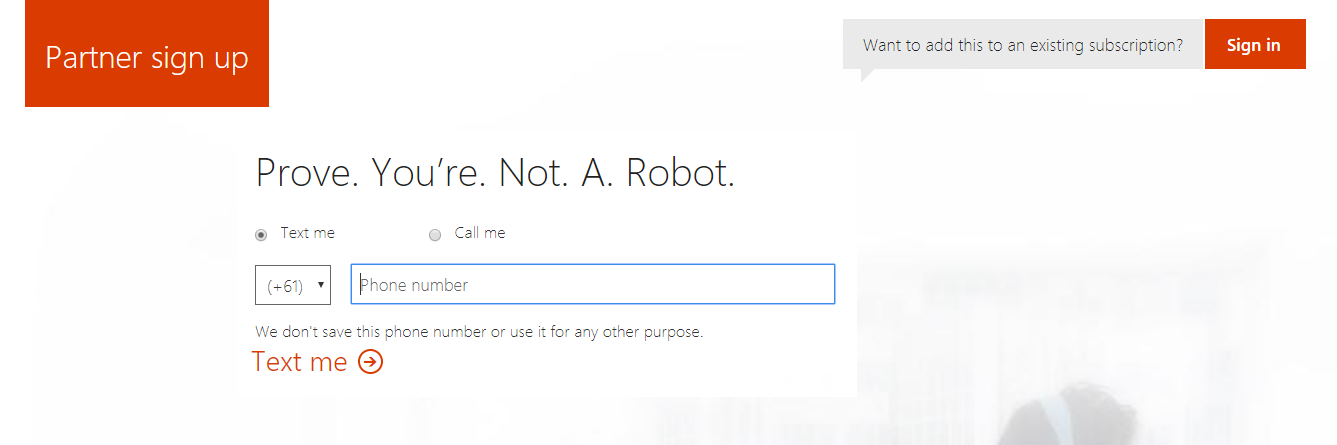
Enter your phone number (mobile) and click Text Me.
Enter the code you receive and click Next. |
 |
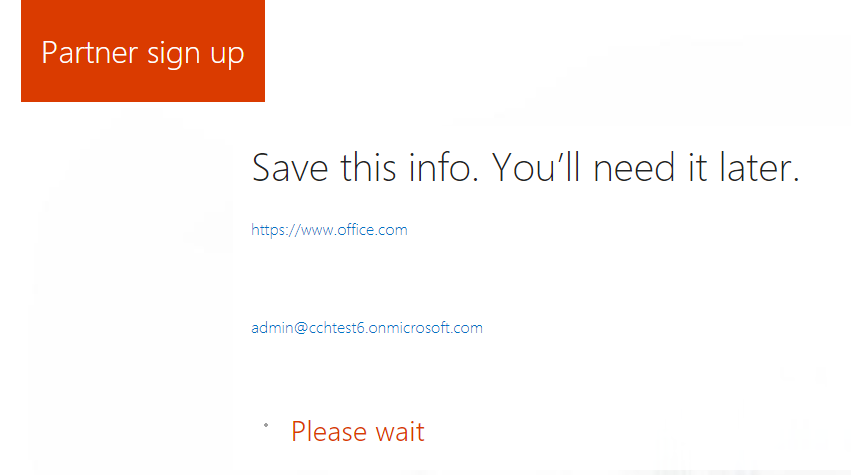
6 |
Microsoft will now create a new account for you.
Please wait while Microsoft creates a new account for you. This may take several minutes. Do not navigate from this screen or refresh. |
 |
7 |
When you see the You're ready to go link appear, the platform has been provisioned. Click on this link. |
 |
8 |
The admin screen will appear. Click Assign Products. |
 |
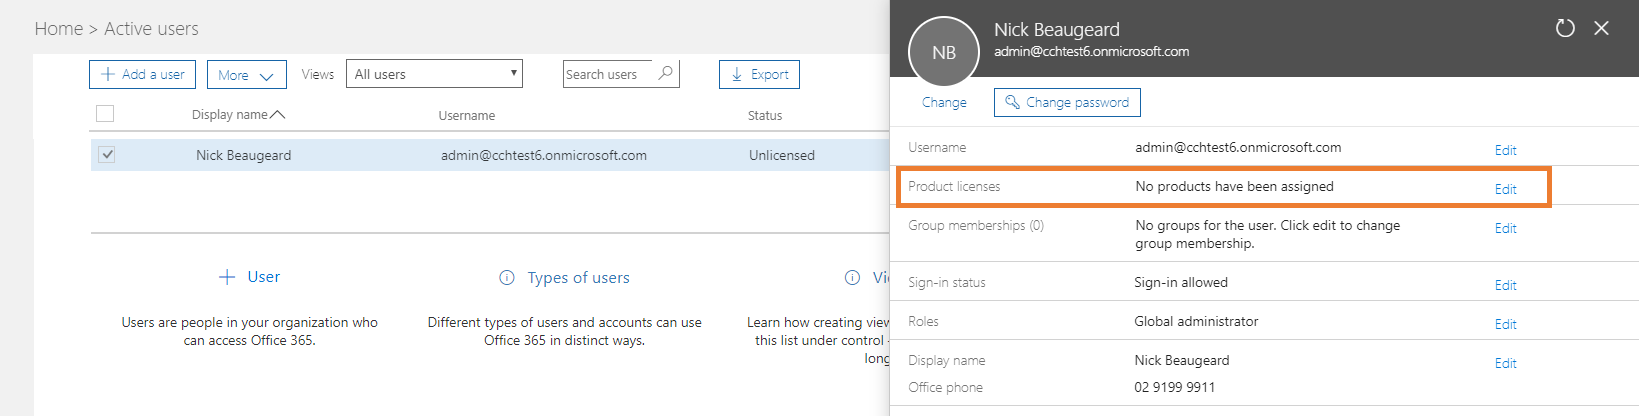
9 |
Select the admin user and click Edit in the Product licences section. |
 |
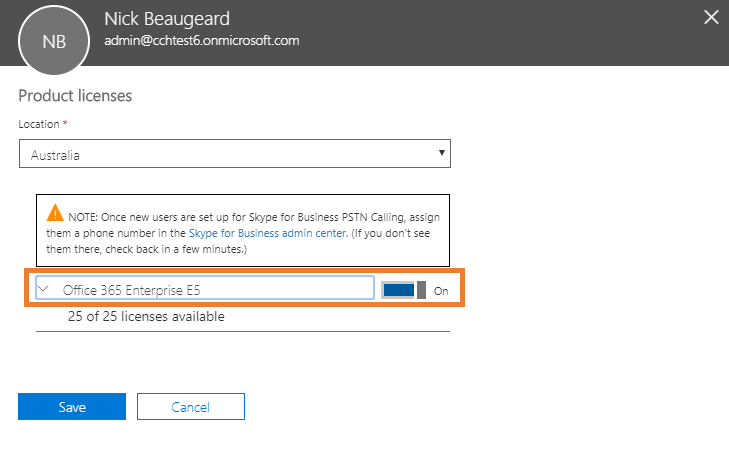
10 |
Select your location from the dropdown.
Then, click on the dial next to Office 365 E5 to turn it on. This will also turn on all of the individual apps below.
Scroll down, click Save, then Close. |
 |
11 |
Wait at least 30 minutes for Microsoft to complete provisioning services. |
|
*** PROCEDURE COMPLETE *** |
||
Note: Normally your user account is assigned a licence, however in some circumstances, Microsoft may not do this. In this case, navigate to users, choose your user and assign an E5 License.