Step |
Instructions |
Screenshot |
|---|---|---|
1 |
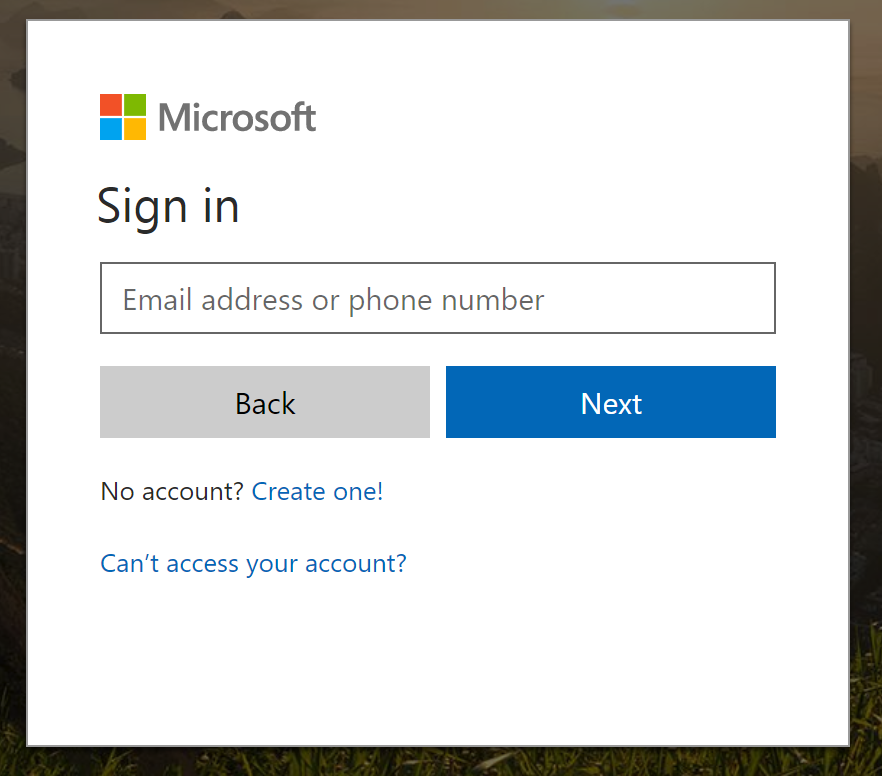
Navigate to PowerApps.
Click Sign In. |
 |
2 |
Use your global administrator credentials (with an Office 365 E3 or E5 license) to sign in. |
|
3 |
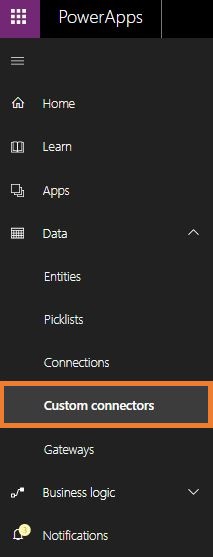
In the left hand side menu, click Custom Connectors under Data. |
 |
4 |
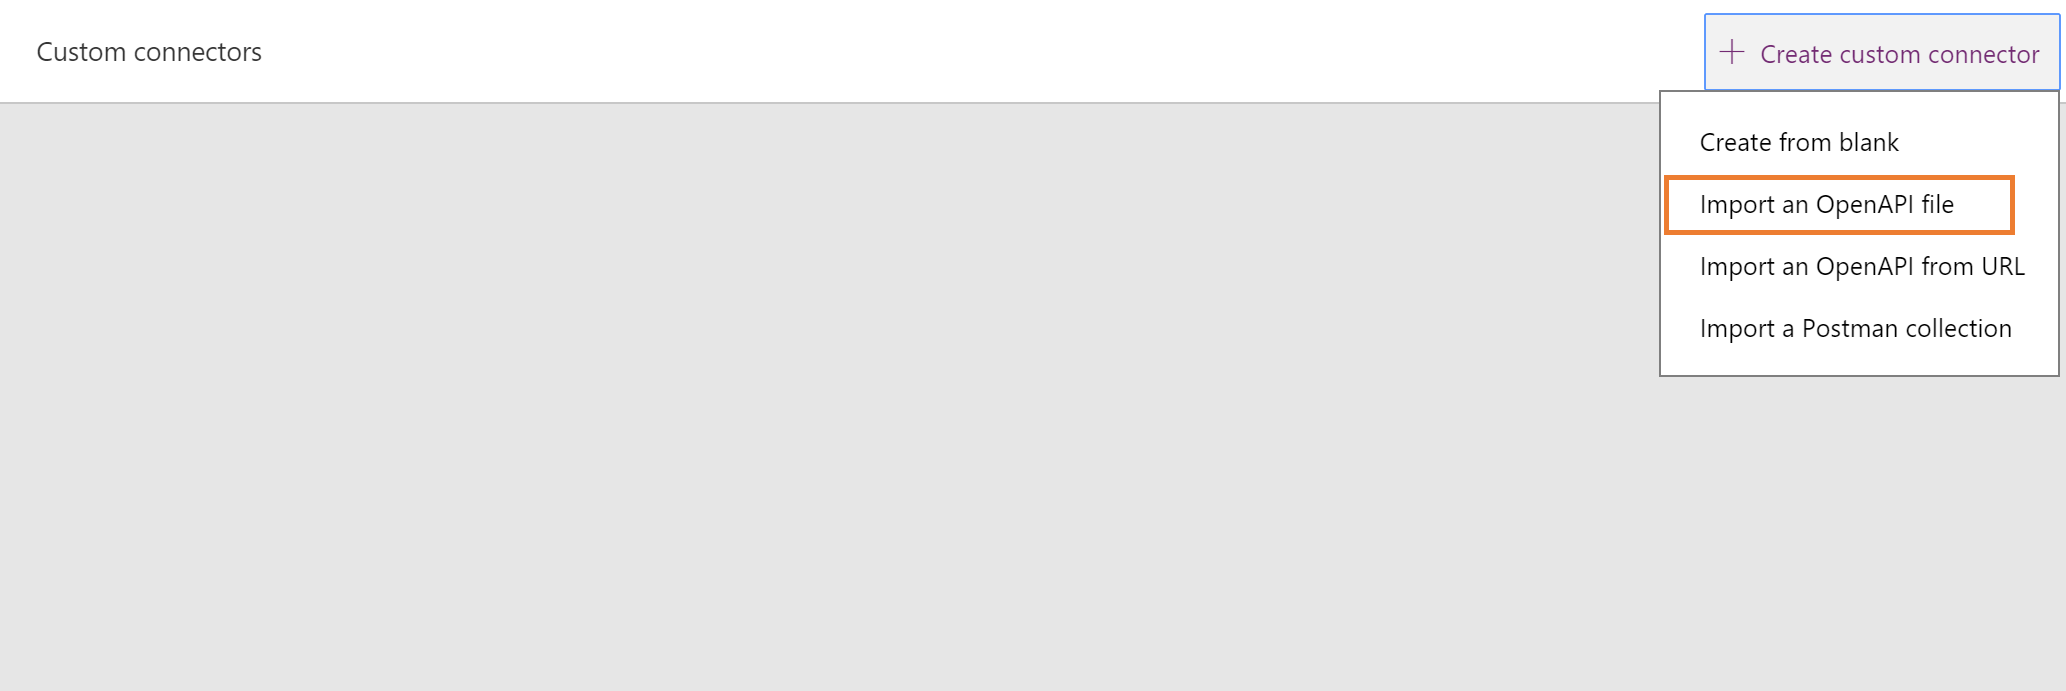
Click + Create custom connector and select Import an OpenAPI File. |
 |
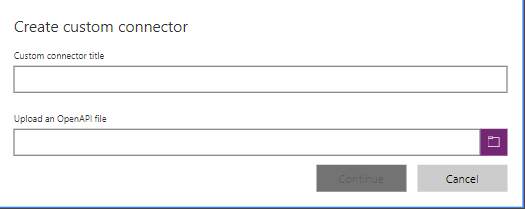
5 |
Enter/upload the following:
Custom Connector Title: CCH iFirm
Open API File: Swagger File (Download the zip file and upload the .JSON file from within the zip).
Then click Continue. |
 |
6 |
Enter the URL of the customer's CCH environment into the Host Field and click Security.
E.g. hubone.acclipse.com This is the CCH iFirm Practice Manager URL. |
 |
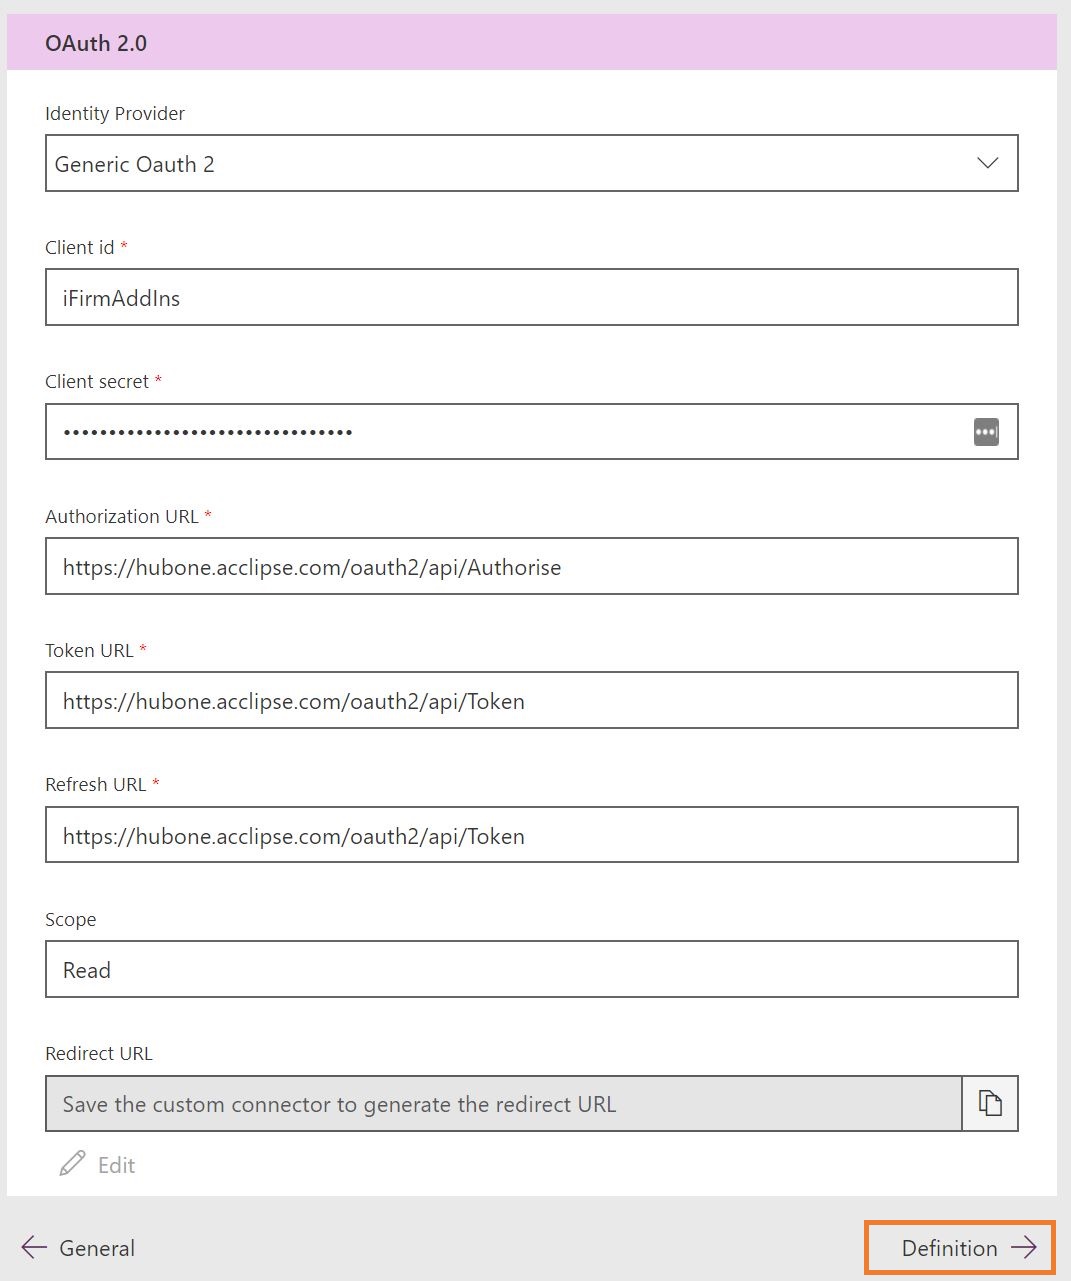
7 |
Enter the following:
Clientid: iFirmAddIns
Client Secret: 0f0514efd73e46de9060998a108a0f4d
(Note: If you are copying from the PDF version of this guide, you will need to first paste the Client Secret into Notepad, ensure it is all on one line, then paste into PowerApps)
Authorization URL: <iFirmURL>/oauth2/api/Authorise
Token URL: <iFirmURL>/oauth2/api/Token
Refresh URL: <iFirmURL>/oauth2/api/Token
Scope: Read
Redirect URL: Leave as is - this will be generated on save
Then click . |
 |
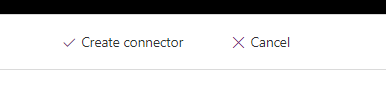
8 |
Click Create Connector at the top of the page. |
 |
*** PROCEDURE COMPLETE *** |
||