This topic describes how to enable Single Sign-on with Office 365 and CCH iFirm. The user will be able to automatically sign into CCH iFirm from within SharePoint, as it will be available as an icon in the Office 365 application launcher.
Please note, you will require Enterprise Mobility and Security E5, and Azure AD Premium, to enable this feature.
Adding CCH iFirm as an unlisted application
1.Navigate to https://portal.azure.com and sign in using your Azure Active Directory administrator account
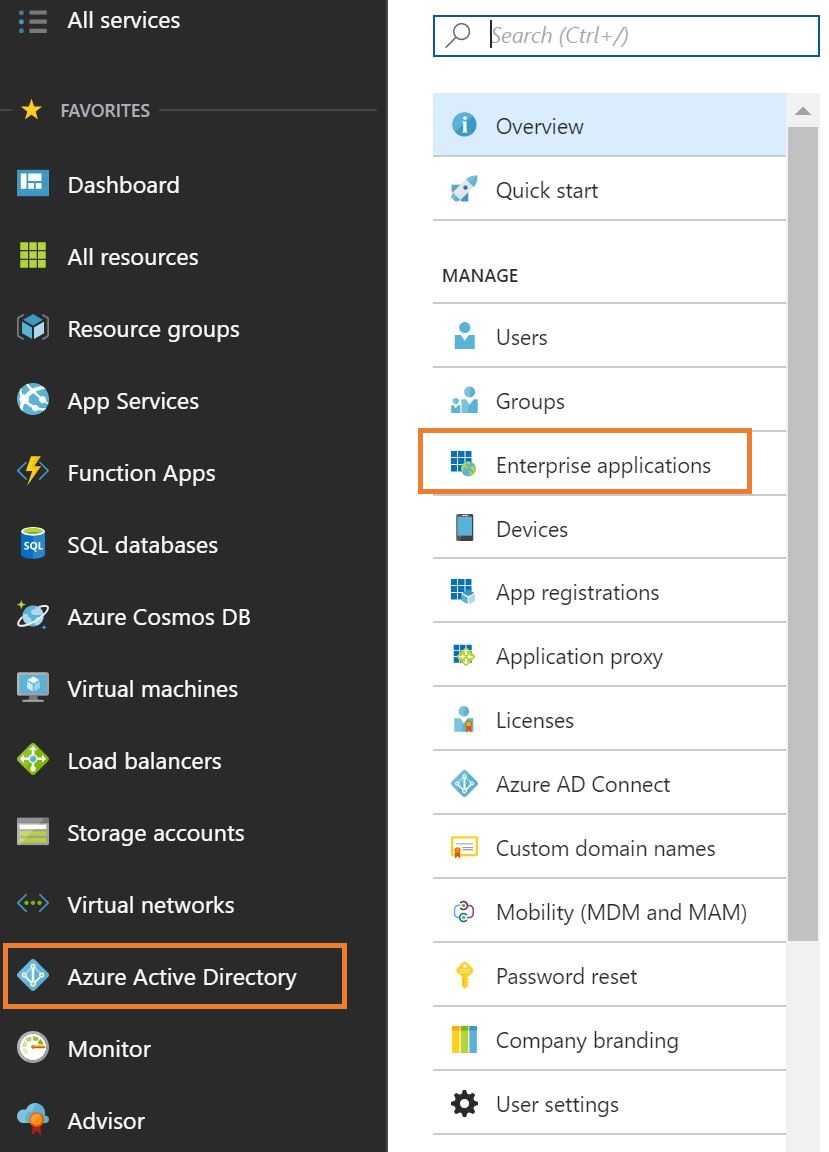
2.Click on Azure Active Directory located in the menu to the left of the page
3.Then select Enterprise Applications
4.Click New application

Quick tip: Before creating a new application, use the search function to check to see if the app already exists in the application gallery. If the app is found and its description mentions "single sign-on", then the application is already supported for federated single sign-on.
5. Select Non-gallery application, enter a name for the app (e.g. CCH iFirm Portal) and click Add
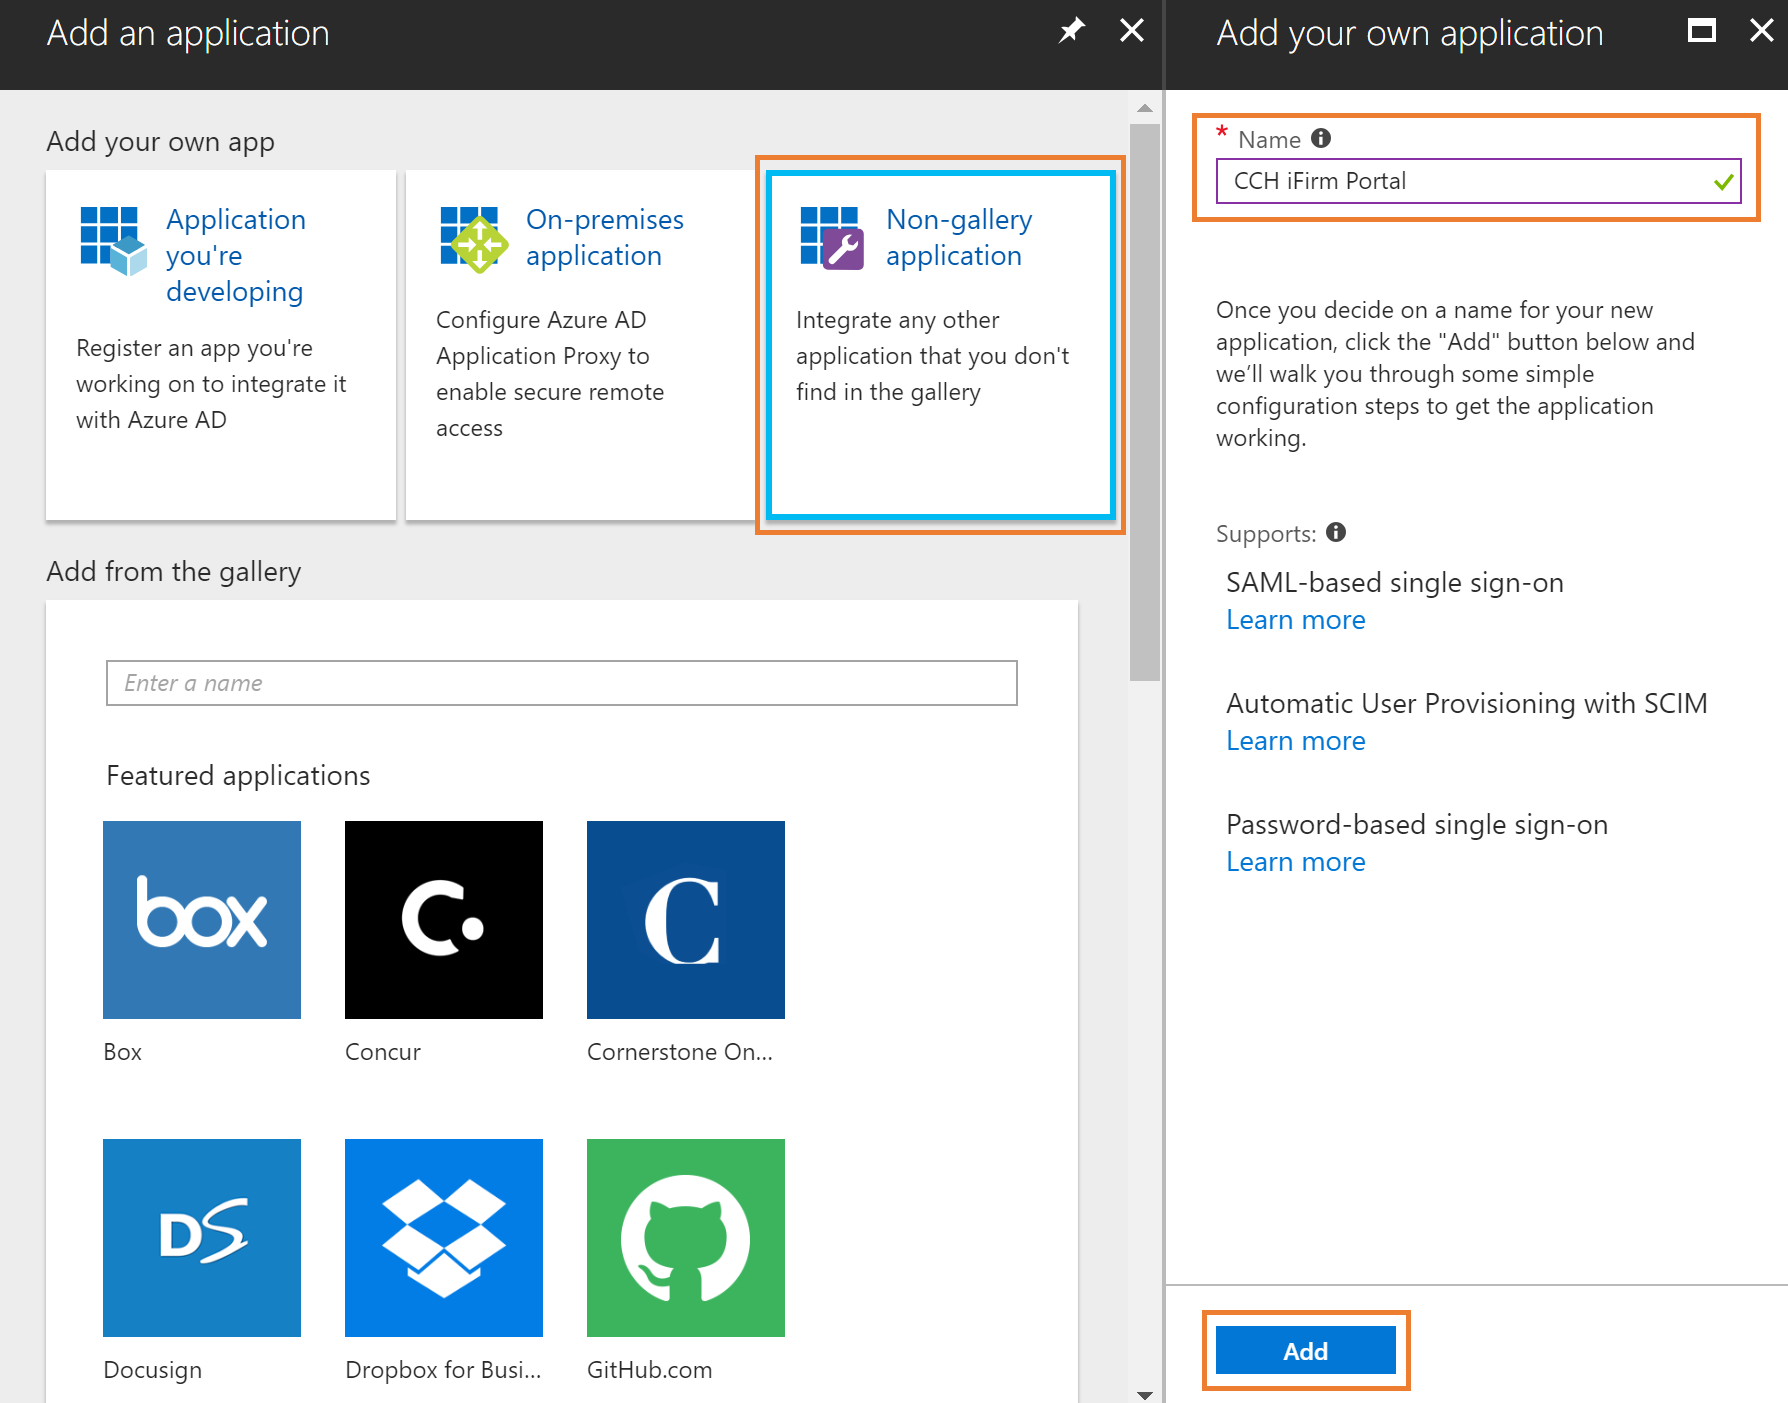
Adding an application this way provides a very similar experience to the one available for pre-integrated applications.
6. Select Configure single sign-on

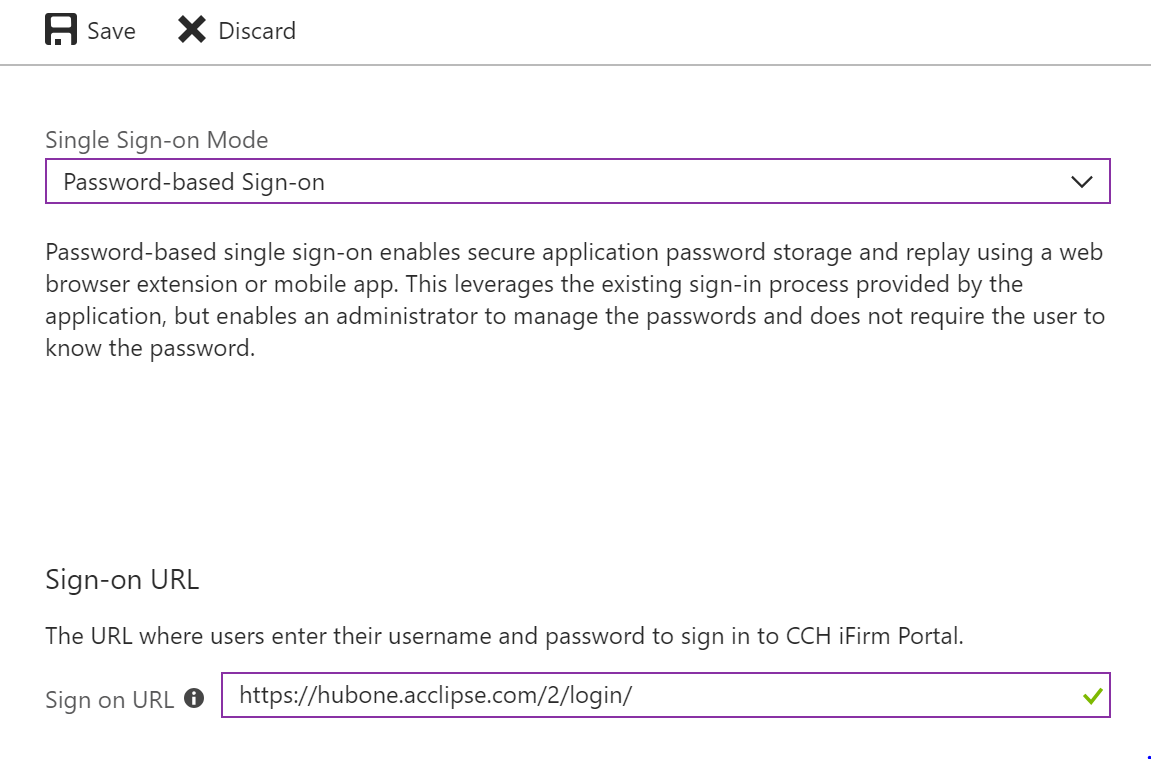
7.Select Password-based Sign-on from the dropdown

Password Single Sign-On
Select this option to configure password-based single sign-on for a web application that has an HTML sign-in page such as CCH iFirm. Password-based SSO, also referred to as password vaulting, enables you to manage user access and passwords to web applications that don't support identity federation. It is also useful for scenarios where several users need to share a single account, such as to your company's social media app accounts.
8.You must then enter the URL of the application's web-based sign-in page and click Save. Note, this must be the page that includes the username and password input fields.
Example, webpage with username and password fields:

Once entered, Azure AD starts a process to parse the sign-in page for a username input and a password input.
If the process is not successful, you will be guided through an alternate process of installing a browser extension (requires Internet Explorer, Chrome, or Firefox) that will allow you to manually capture the fields.
Once the sign-in page is captured, users and groups may be assigned and credential policies can be set.