Once you've created your single sign-on application, you must now assign users and/or groups. Before getting started, you'll want to make note of all users that require access, their iFirm usernames and passwords.
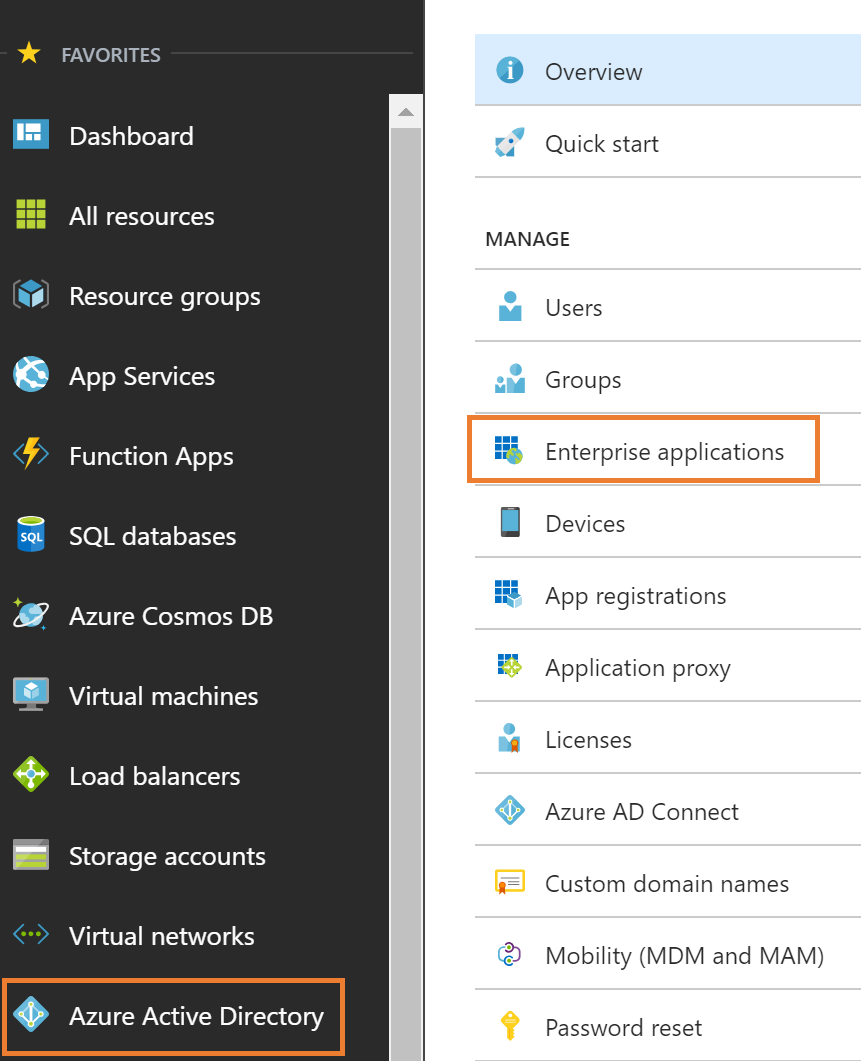
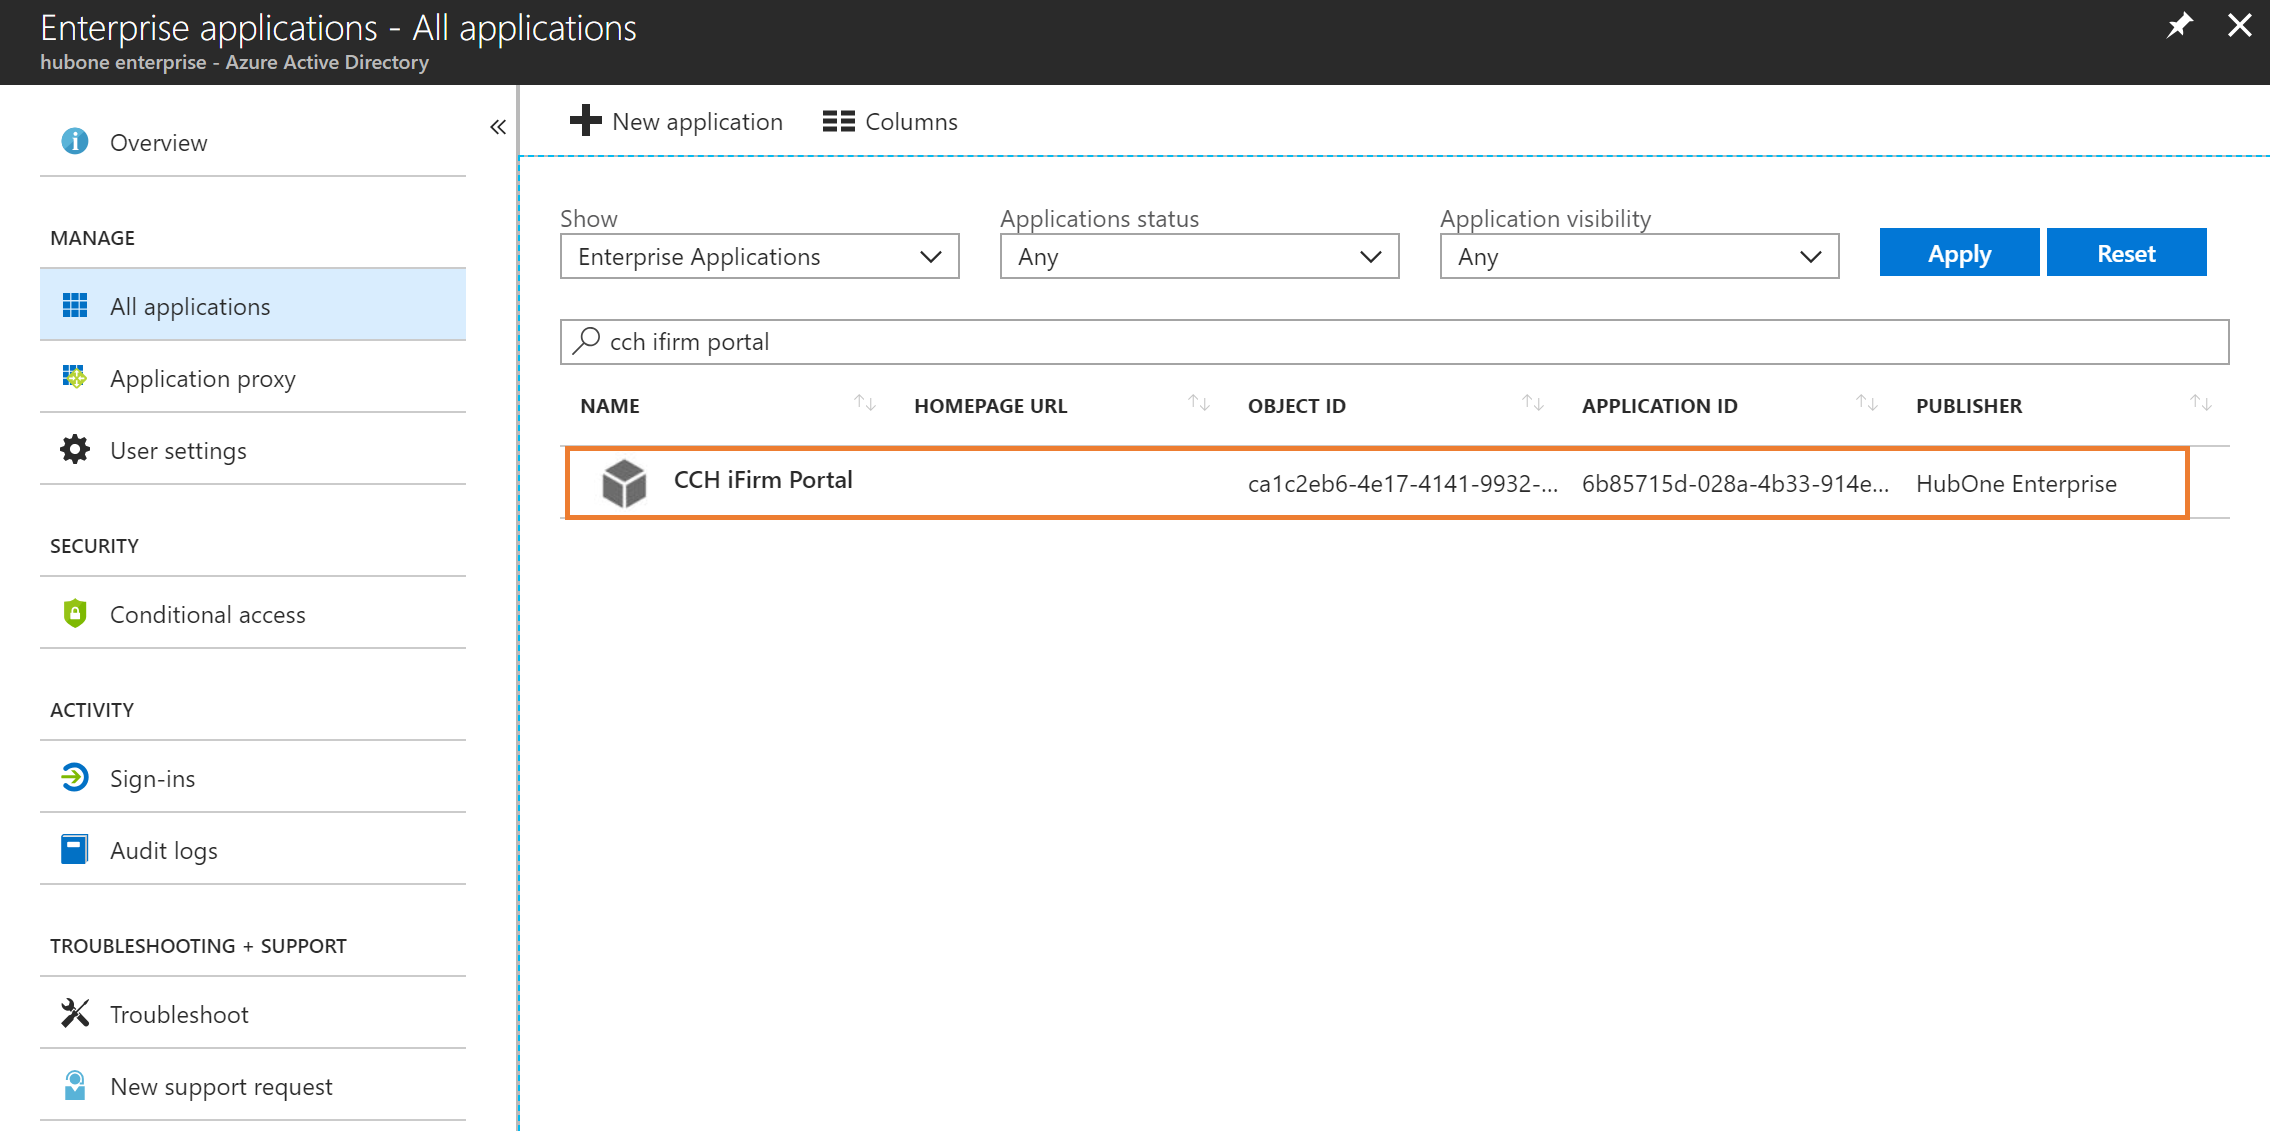
1.Navigate to the application (Azure Active Directory > Enterprise Applications > select application from the list)
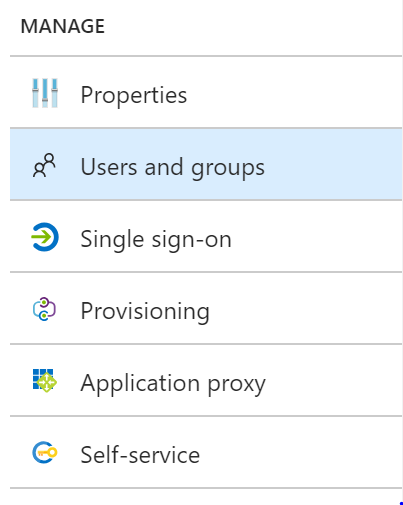
2.Click Users and groups
3.Click Add user

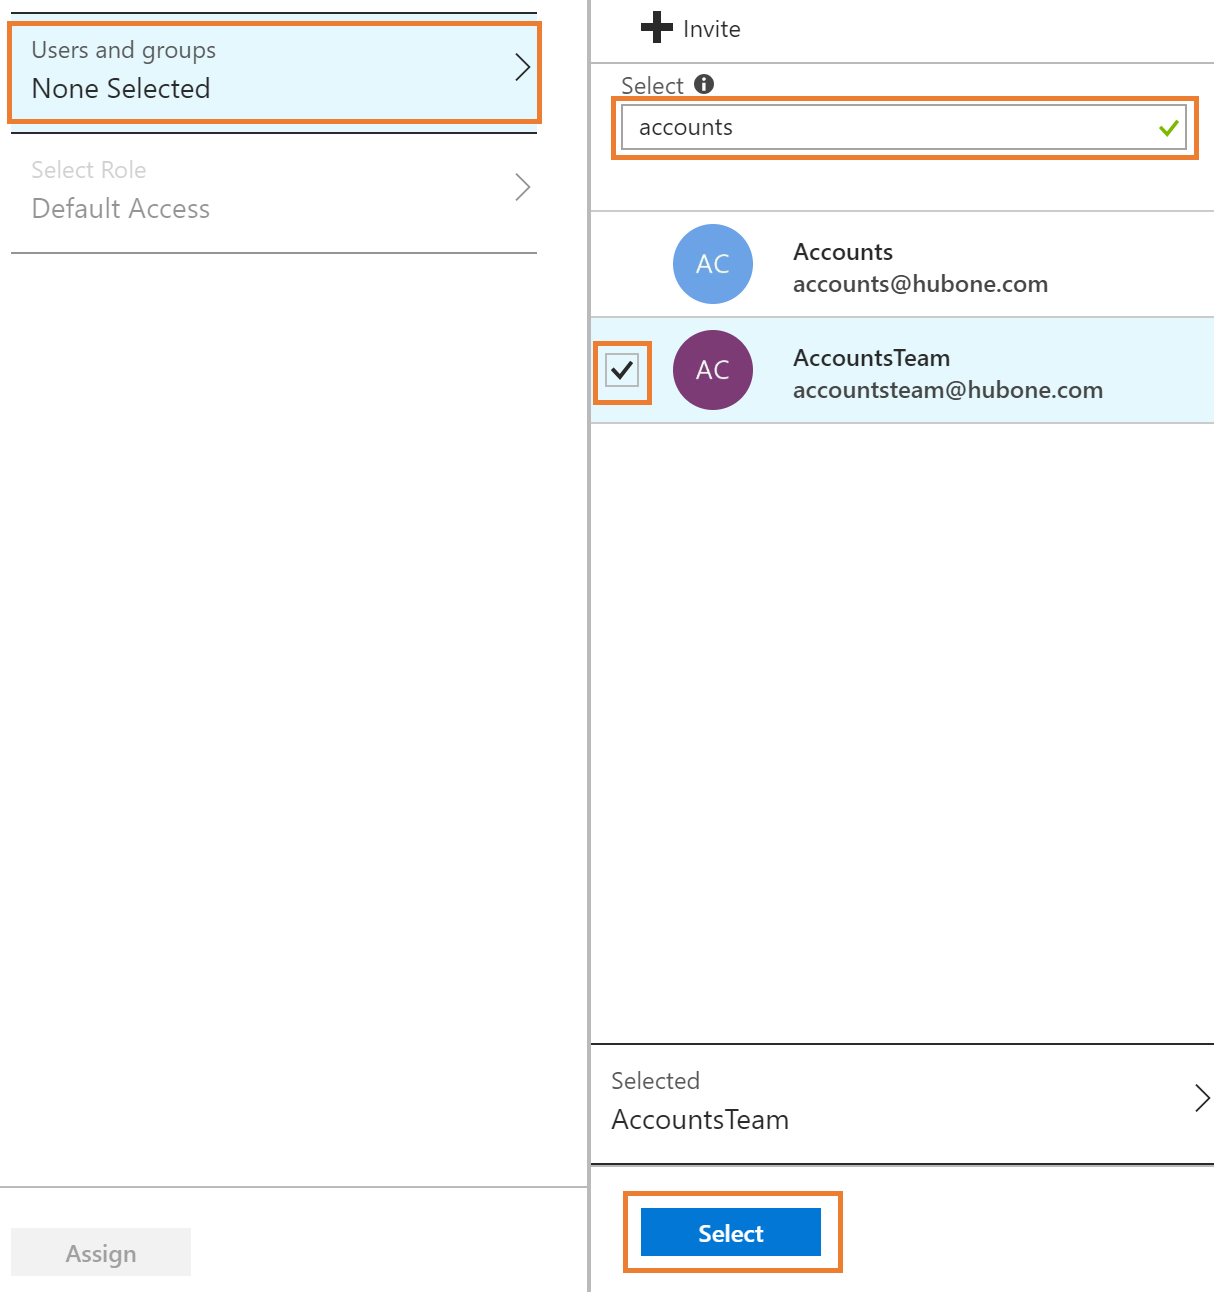
4.Click Users and groups, then choose users/groups by using the search bar and clicking the tick boxes to make your selection. Once complete, click Select
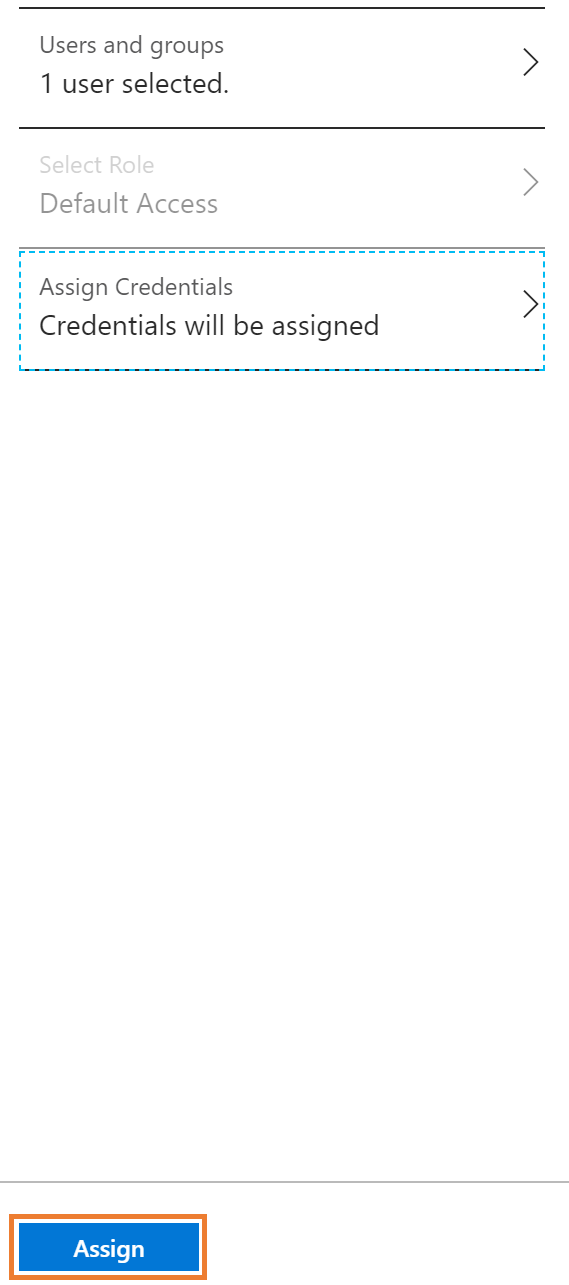
5.Click Assign credentials, then Yes to assign credentials on behalf of the user
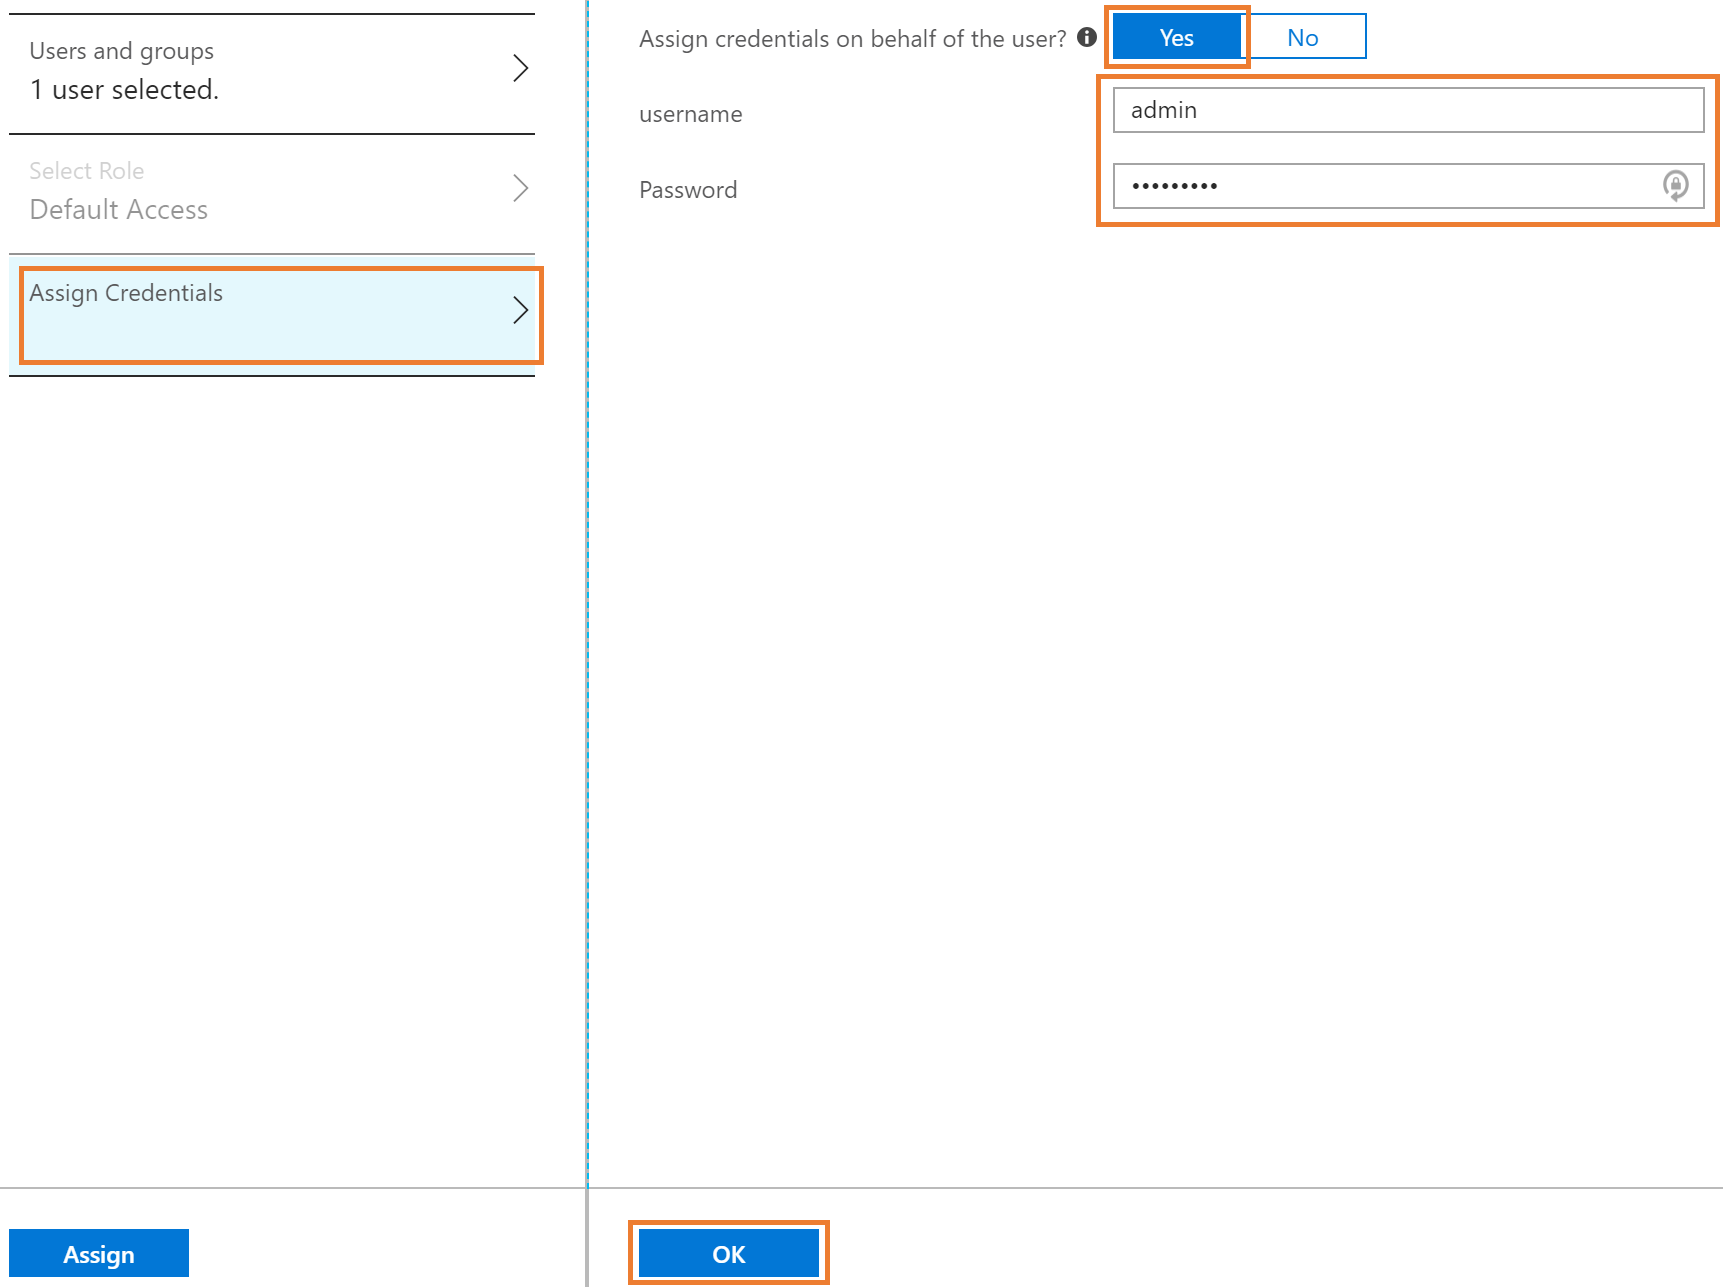
6.Enter the iFirm portal username and password, then click OK
Note, you will need to configure this per user for CCH iFirm access as users will have their own logins, opposed to one master account. Master accounts would be used for apps such as Facebook and Twitter.
7.Finally, click Assign