Basic saving
At its most basic, the application is used to save emails to client folders in SharePoint. Select the desired client target from the dropdown list and click Save to SharePoint. This will queue the email for saving and will then save directly to the root folder of the client selected in .msg file format.
To allow you to continue working immediately, the software will place the email in a queue for saving. The following message indicates this. You can now continue working.

Important note: You must not delete your email immediately after saving. The queue will need to locate it in the folder you saved it from to save it to SharePoint – this can take a few seconds after you save the email. Please wait until the blue OnePractice category icon appears before deleting. It is also advised that you do not have an Outlook rule that auto-deletes your emails.
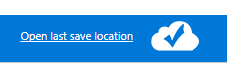
Once the email has been saved, the cloud icon will display a tick inside (as shown below). A link, Open last save location, will also appear, whereby you can you view the email within the Document Center. Should you return to this email in your inbox at a later date, even on reloading Outlook of the app, the Open last save location link will always appear so that you can quickly access it within the Document Center.
Please note, if you are using Internet Explorer and are not able to open the Save Location.
1. Go to Internet Options in your browser.
2. Click the Security Tab.
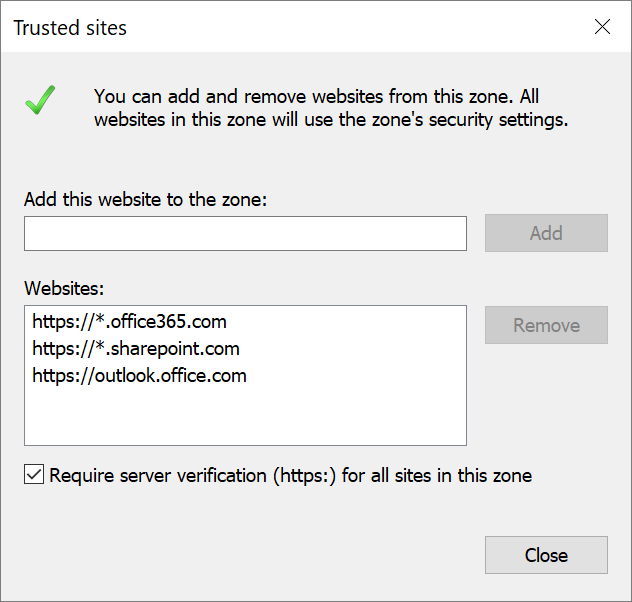
3. Select Trusted Sites and then click the Sites button.
4. Add https://outlook.office.com to your trusted sites as in the image below.