This is the procedure to implement the final flow and kick start the synchronisation.
Step |
Instructions |
Screenshot |
|---|---|---|
1 |
Navigate to Flow.
|
 |
2 |
Click My Flows then Import. |
 |
3 |
Download Flow #1 here.
Then import the Flow (the zip file). Do not extract the files, simply upload the entire zip.
Please wait while it loads the zip file. |
 |
4 |
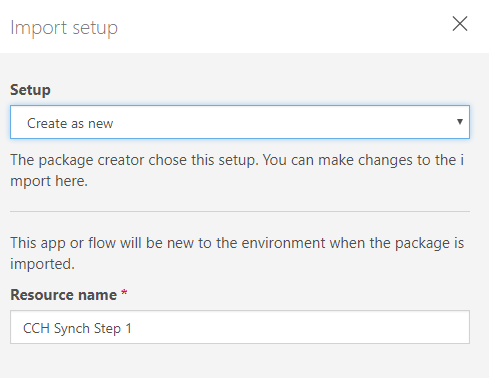
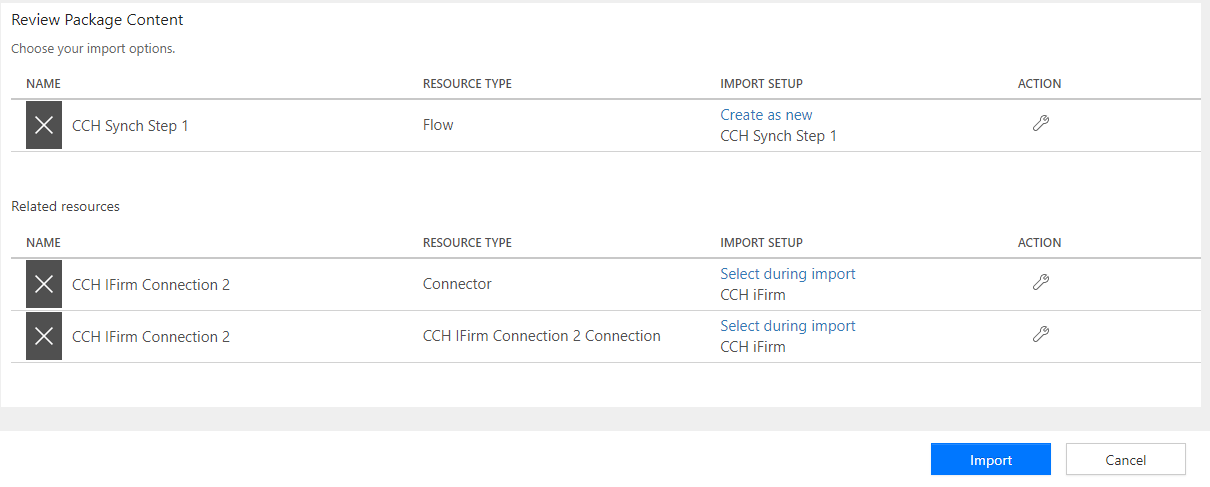
If the CCH Synch Step 1 Import Setup link is Create as new, click on the link and then Save. Then go to step 6.
If the link is Update, click the link. |

OR
 |
5 |
Set Setup to Create as New and click Save. |
 |
6 |
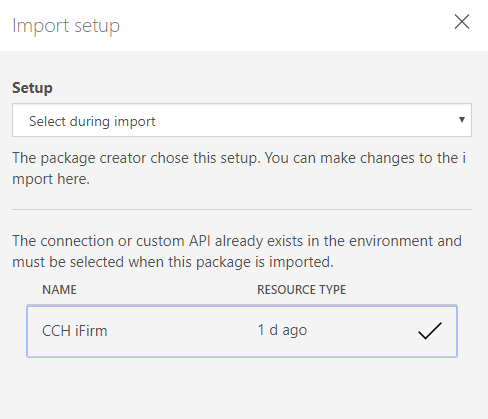
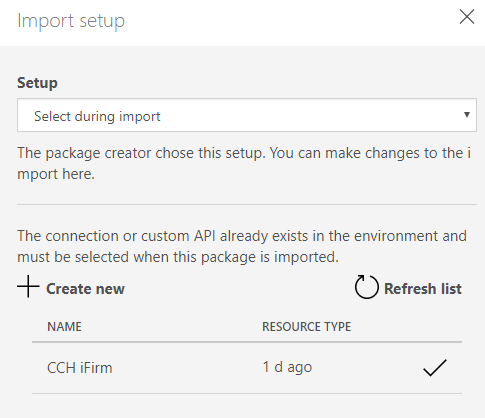
Select Connector by clicking Select during import.
Select CCH iFirm and click Save. |
  |
7 |
Select CCH iFirm Connection by clicking Select during import.
Select CCH iFirm and click Save. |
  |
8 |
Then click Import at the bottom of the page.
Please wait while this loads. Do not navigate away from the screen or refresh. |
 |
9 |
When it has successfully completed, click Open Flow. |
 |
10 |
Expand HTTP |
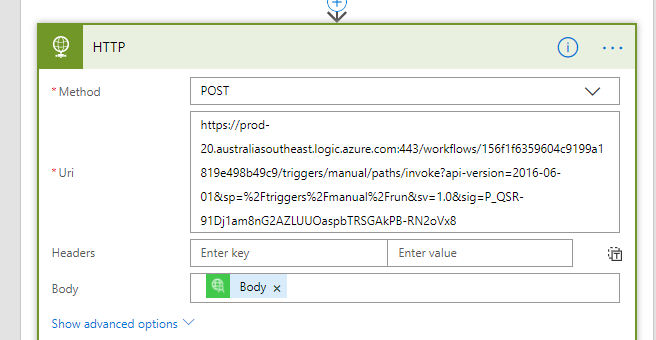 |
12 |
Replace the Uri with the URL created in Flow #2 (step 15). |
|
13 |
Click Update Flow. |
 |
14 |
Click Done. |
 |
***PROCEDURE COMPLETE*** |
||
You should have now configured and installed all elements required to integrate CCH iFirm with the OnePractice Suite.