This process implements the second flow workflow required to enable the CCH iFirm Integration.
Step |
Instructions |
Screenshot |
|---|---|---|
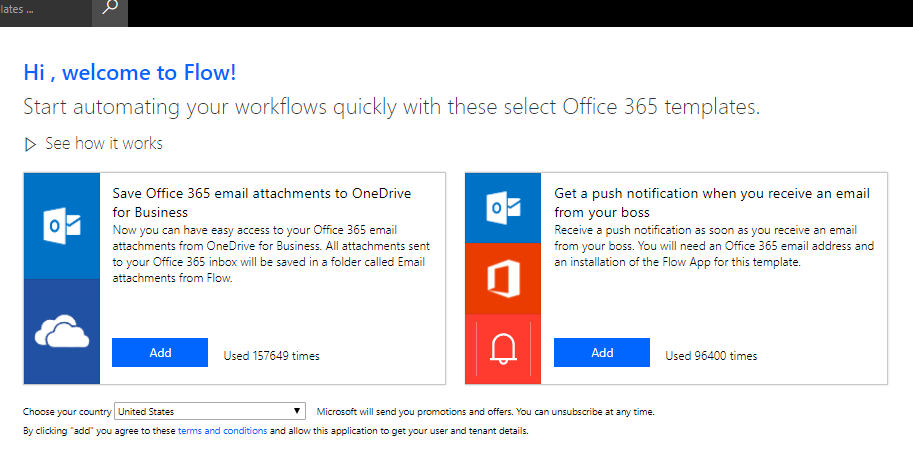
1 |
Navigate to Flow.
|
 |
2 |
Click My Flows then Import. |
 |
3 |
Downloaded Flow #2 here.
Then import the Flow (the zip file). Do not extract the files, simply upload the entire zip.
Please wait while it loads the zip file. |
 |
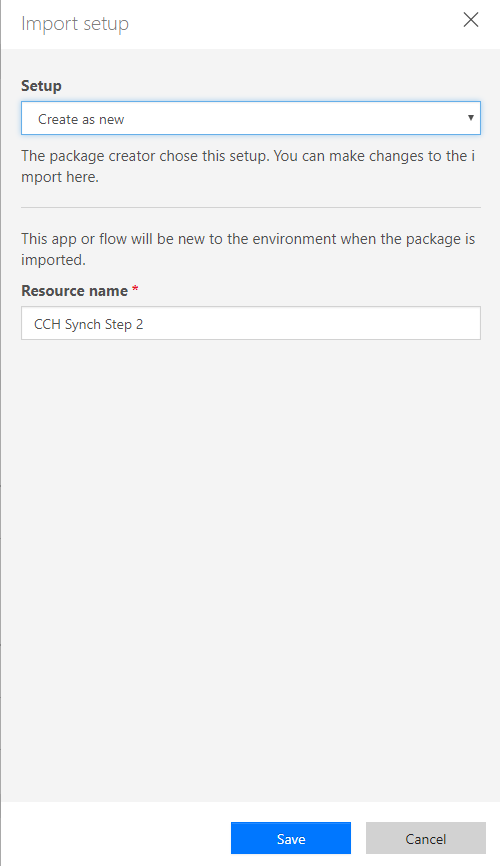
4 |
If the CCH Synch Step 2 Import Setup link is Create as new, click on the link and then Save. Then go to step 6.
If the link is Update, click the link. |

OR
 |
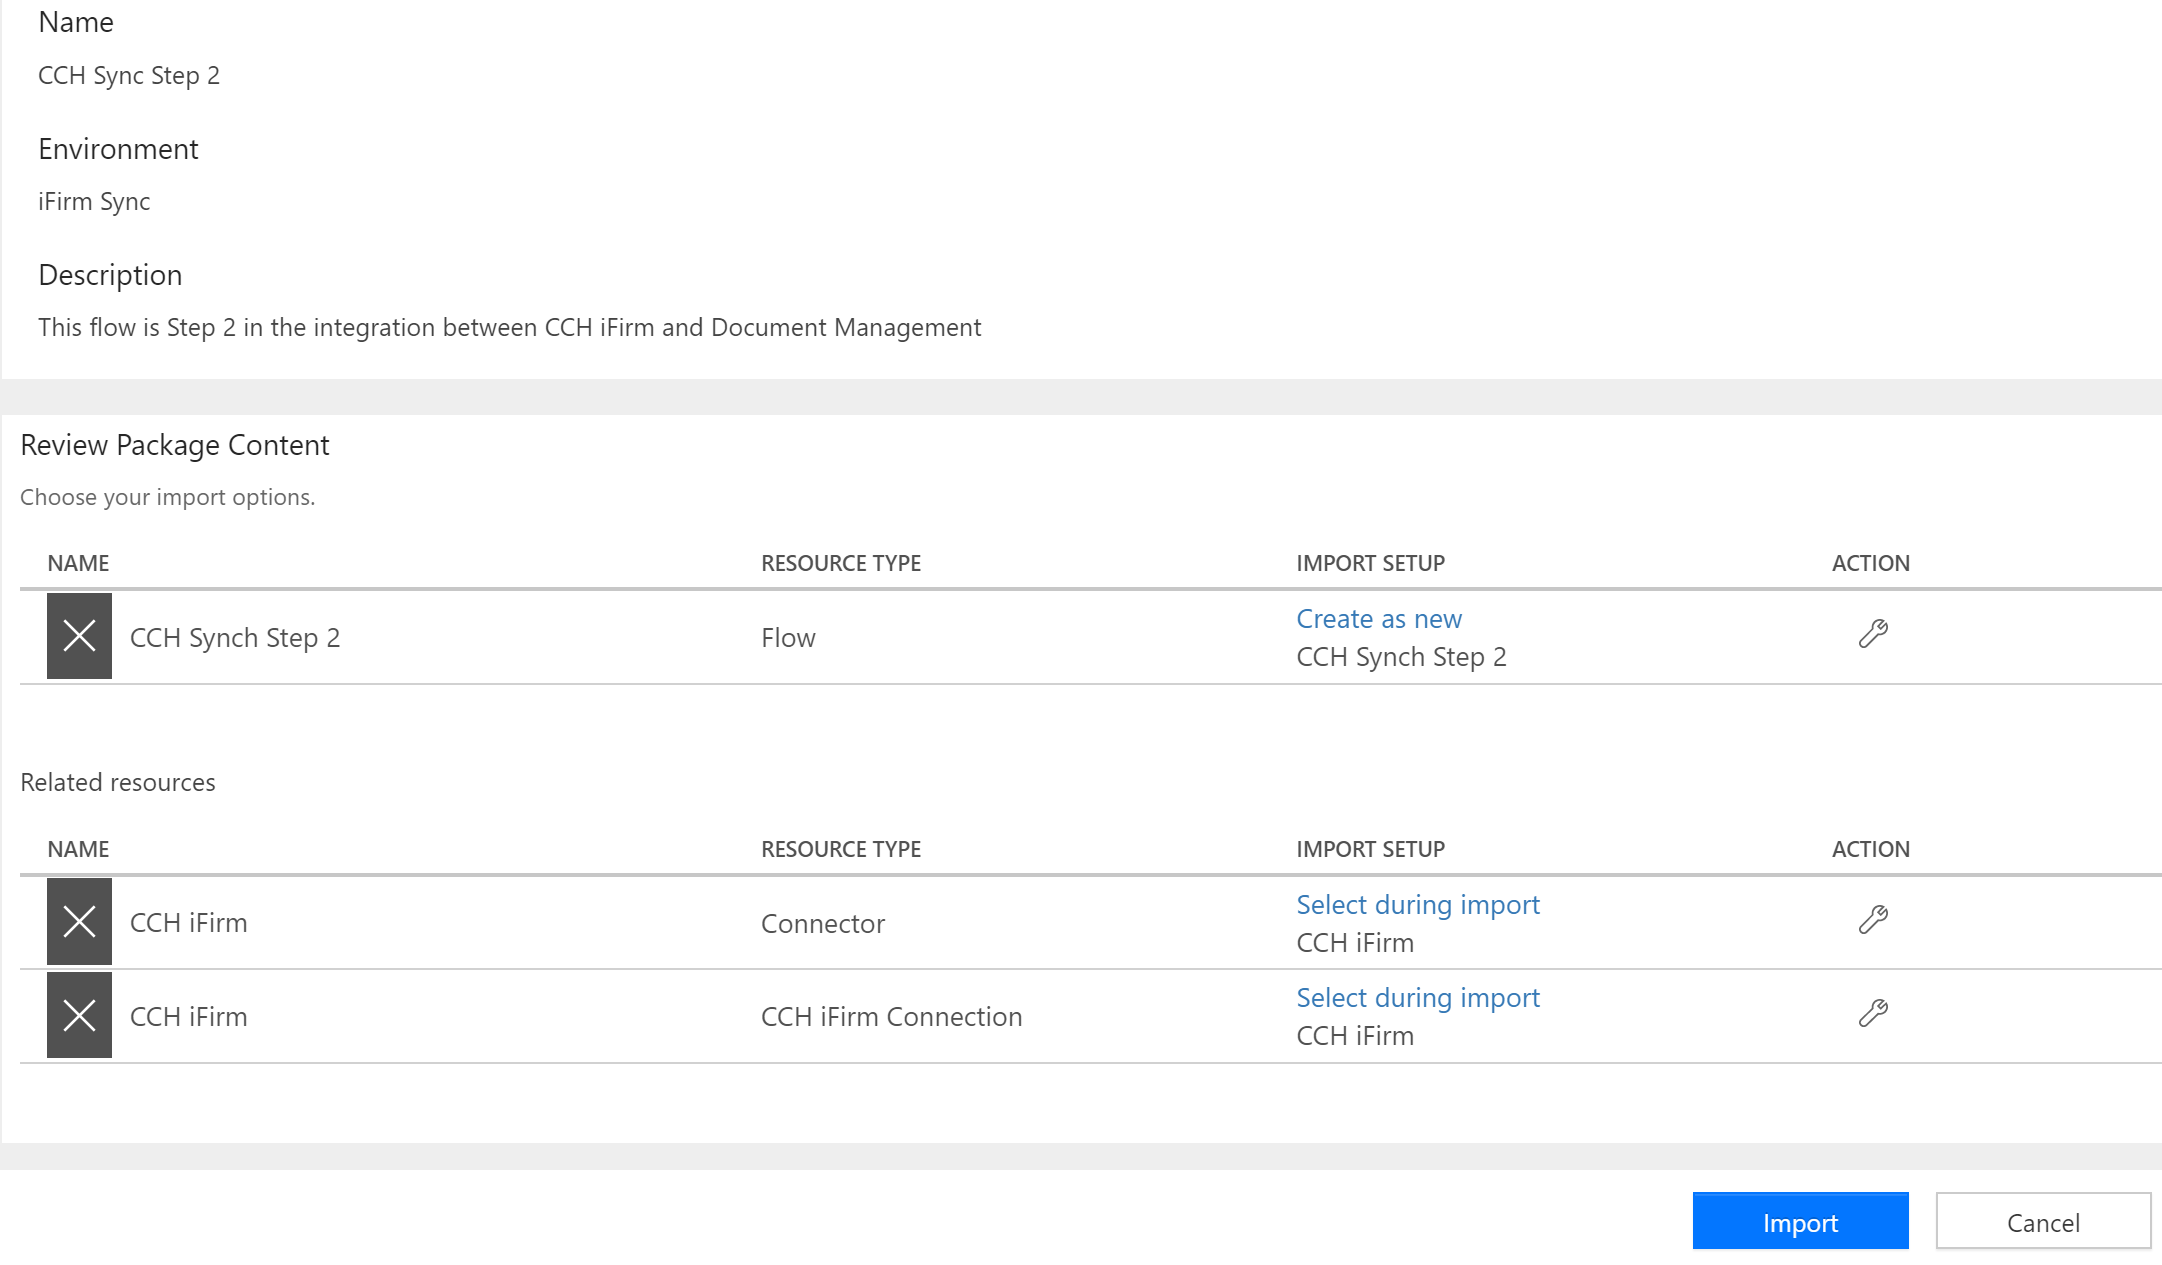
5 |
Select Create as new from the Setup dropdown and click Save. |
 |
6 |
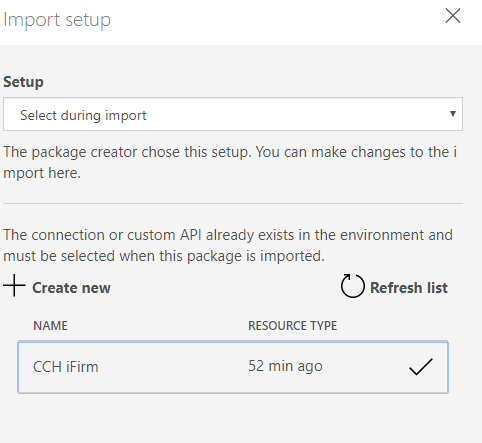
Select the Connector by clicking Select during import. |
 |
7 |
Select CCH iFirm and click Save. |
 |
8 |
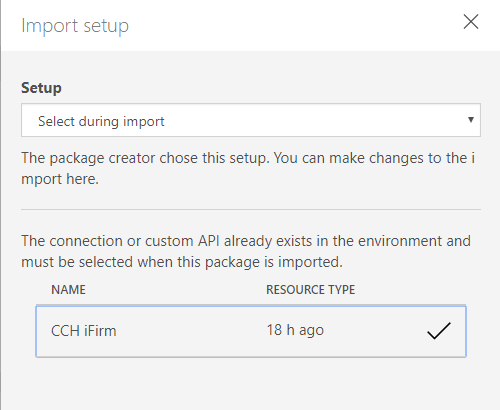
Select the Connection by clicking Select during import. |
 |
9 |
Choose CCH iFirm and click Save. |
 |
10 |
Once your screen looks like the example shown to the right, click Import.
This may take a minute, do not navigate away from the screen or refresh. |
 |
11 |
When the package has been successfully imported, you will see a notification at the top of the page. Click Open Flow.
|
 |
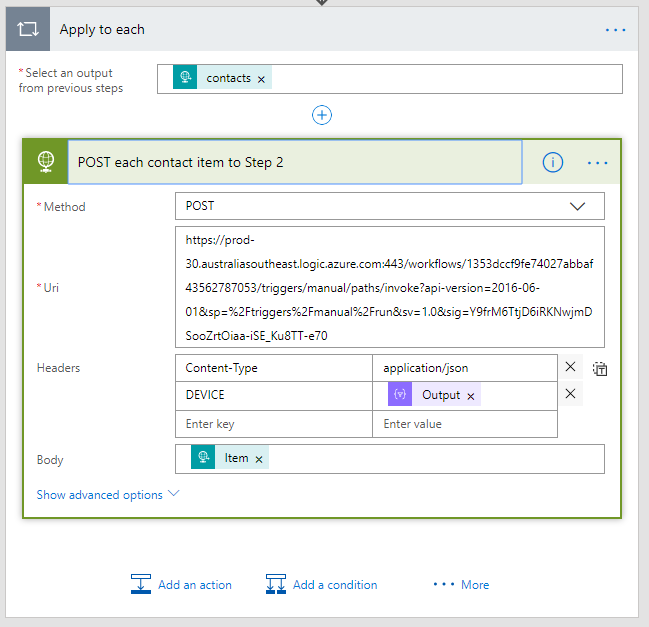
12 |
Scroll down and expand POST each contact item to Step 2. |
|
13 |
Replace the Uri with the URL created in Flow #3 (step 42). |
|
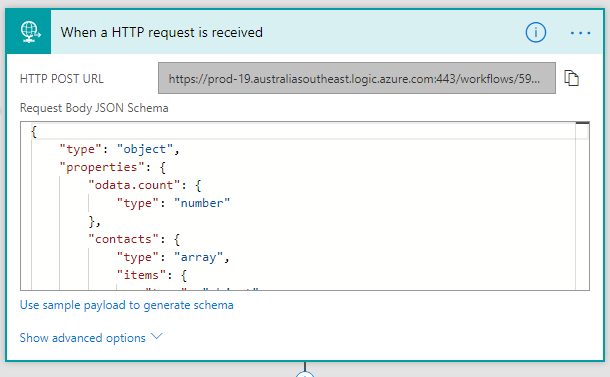
14 |
Scroll to the top and expand When a HTTP request is received. |
|
15 |
Copy the HTTP POST URL - you will need this when you come to implement Flow #1. |
|
16 |
Click Update Flow. |
 |
17 |
Click Done. |
 |
*** PROCEDURE COMPLETE *** |
||